

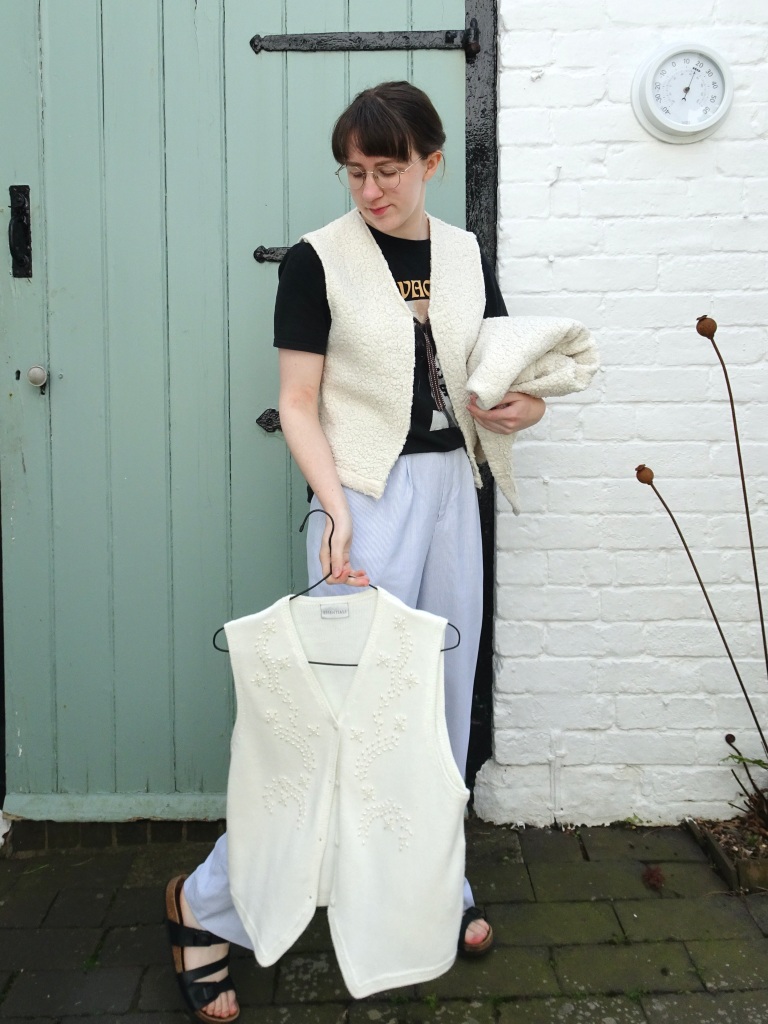
The perfect layering piece of the autumn has to be a cosy gilet. An extra layer on top of your jumper or tee, just to take the edge of and help your stay warm at the core, especially when layered with a coat too. This summer, as I was getting ready for autumn (this is my constant mood ahah) I was looking for the fluffy gilet of dreams and struggling to find one in my price range. Fast forward, to me going down with covid-19 and all of a sudden having a lot of time on my hands, and this upcycle DIY was born. I grabbed an old blanket and my scissors and I was off – here’s how you can make the perfect cosy gilet too – I mean who doesn’t want to wear a blanket 24/7.
What will I need
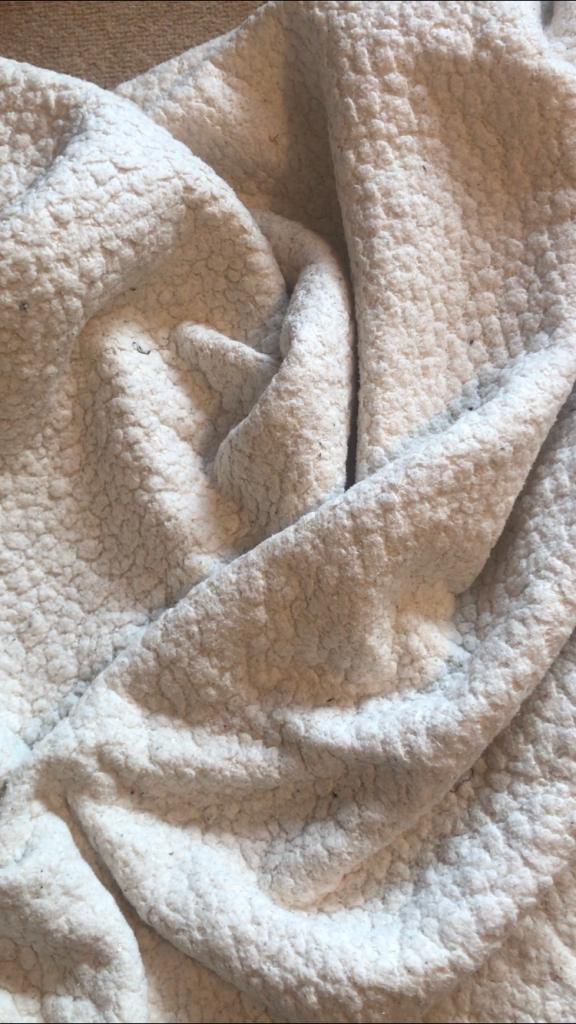
Old Blanket, Paper/Tracing Paper, Vest or Top you already own that fits well, Pins, Fabric Scissors, Fabric Pen, Needle and Thread or Sewing Machine

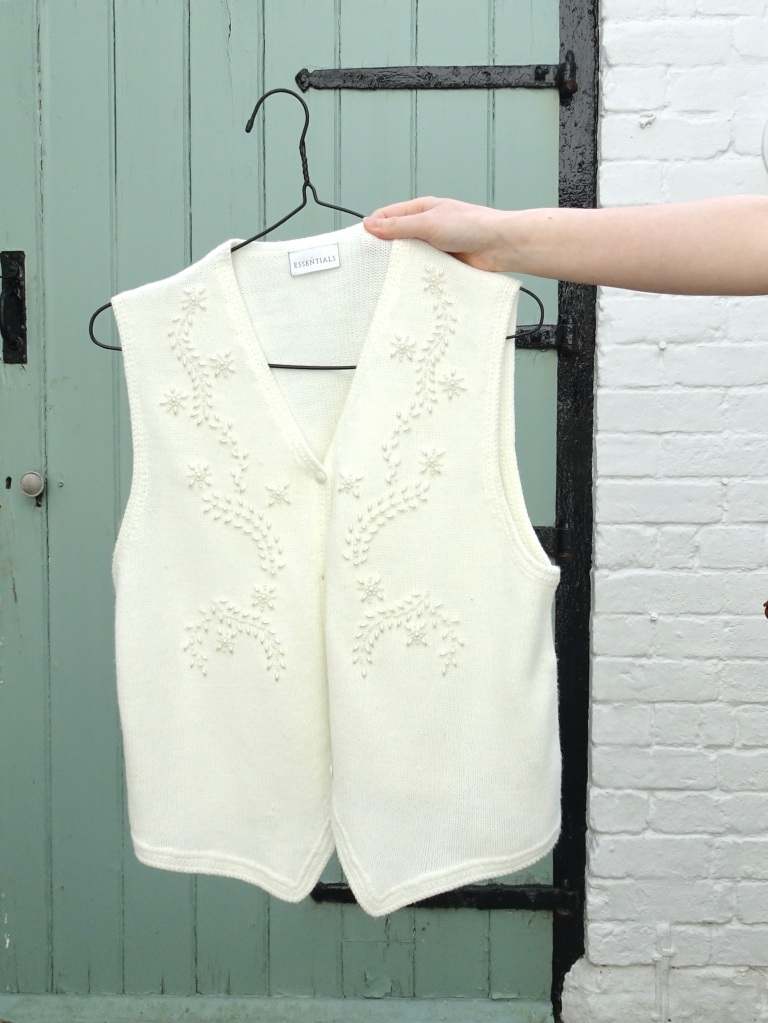
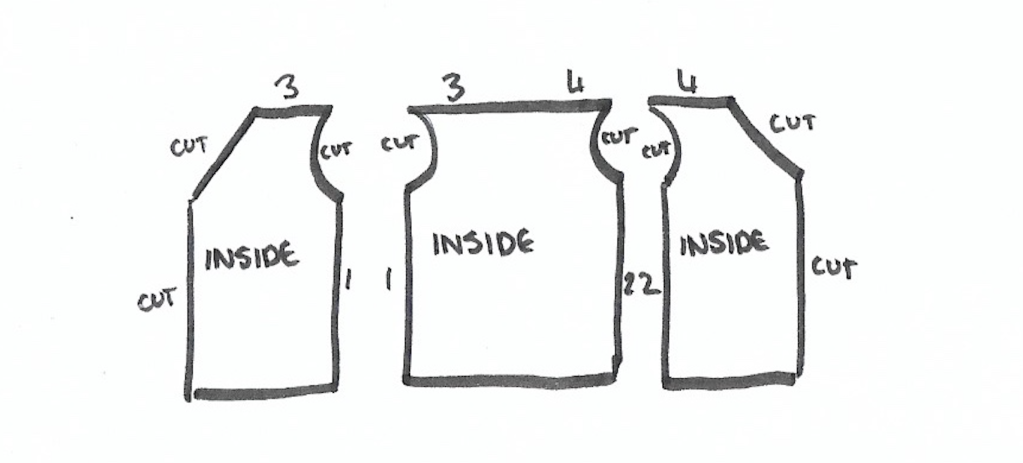
So, now you have everything you need – the first thing you want to do is get your old top or vest – in this case I used a knitted vest that I got in a charity shop a while ago and I know fits me well. Lay out your paper, sticking together several pieces if needs be and first draw around the back. Once you have drawn around it, be sure to mark the inside and the outside. See the illustration for guidance.
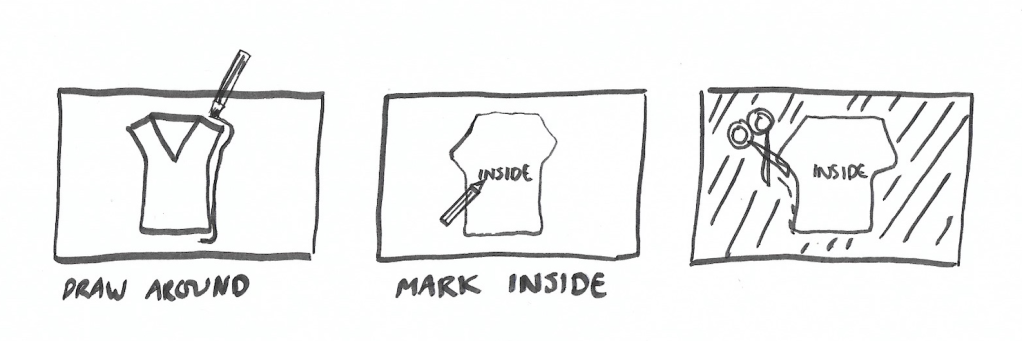
Once you have drawn around the back, remove the decoy garment. Once you have done this, cut out your piece and lay it on a fresh piece of paper with the side marked inside facing upwards. Draw around it again, then draw the shape of the front of your gilet onto it. Cut it out and in half, labelling the area facing down ‘inside’ and the area facing up ‘outside”. Please note this method is for an open gilet, that won’t necessarily wrap all the way around your body. If you have a larger bust, you might want to draw around your piece twice so you can extend the central area to be wider as you wish.

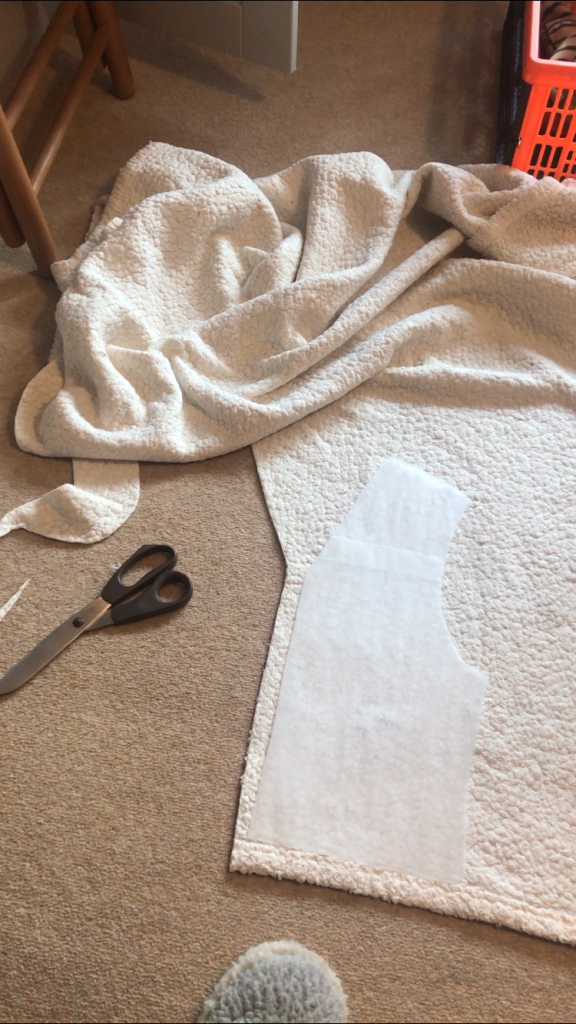
Now it is time to get cutting out our fabric. Lay your back piece ‘inside’ up on your blanket and pin it. I laid mine just above the edge of the blanket to lengthen it slightly (see image below). Then draw around it with your fabric pen, excluding the bottom edge. Once you have drawn around it, draw another line – approx 1cm away from your line around the perimeter (again excluding the bottom edge) and cut out along this line. Repeat, but with ‘outside’ facing up, for both front pieces.

Now it is finally time to sew it together. I decided not to hem all the edges because I am lazy, so below is a guide of what to chop off and what to sew – if you’d like to do it that way. Each number equates to which edge you need to sew to which, I hope that helps as I am by no means an expert and this was all one big experiment. You can definitely sew this by hand, but I have found you get a much cleaner finish with the sewing machine.


My final touch was to sew two little brown ribbons onto the front, as a bit of a 70s nod and a way to do up the gilet without the faff of creating button holes, sewing a zip or adding a popper.

And there we have it, our very own cosy gilet. The ultimate in autumn upcycles and the perfect way to use up those old blankets that have seen better days. What colour will you make? If you’re more of a crochet lover, why not try my DIY Easy (Cheat’s!) Crochet Tank Top?

Brilliant
Thank you so much Leonie!